
26 Feb 2012
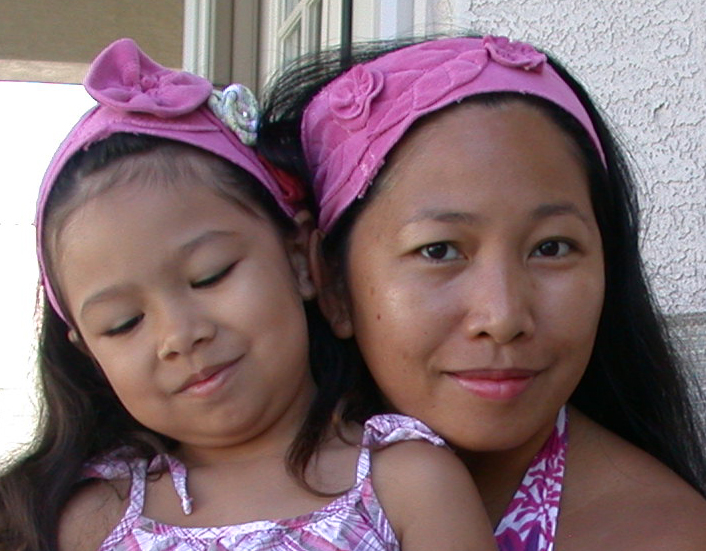
This beautiful headband is made with used Capri jeans with a soft, thin towel-like texture. It’s very soft and comfy, and looks so lovely!
Materials
1/4 yard fabric
Pattern
Thread
Scissor
Sewing machine (optional but necessary)
Preparation:
Follow the sample pattern:
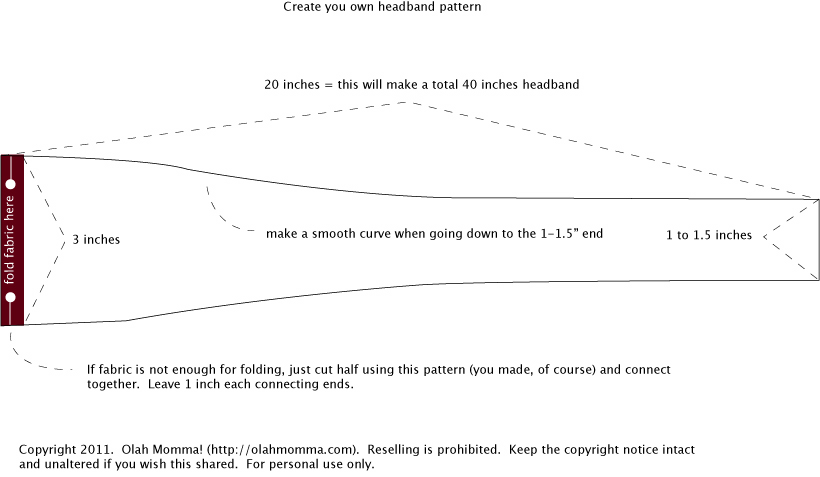
Get an old newspaper (or any tracing paper or pattern paper), tear in half, and connect each end to reach the length of 40 inches (if more, cut out the excess). Fold in half. In the middle of the folded side, measure 3 inches, then in the middle of that 3 inches (1.5”), make a straight line reaching to the other end (see the blue star in the pattern guide above). The other end will have 1 inch or 1.5 inches width, depending on how think you’d want it to be. Make a smooth line (see the curve I made on the pattern guide above.
Lay down your full pattern (Fig 2 below), making sure the middle is not pointy otherwise you may want to make a smooth curve in it.
Figure 2: Full Tie-On Headband Pattern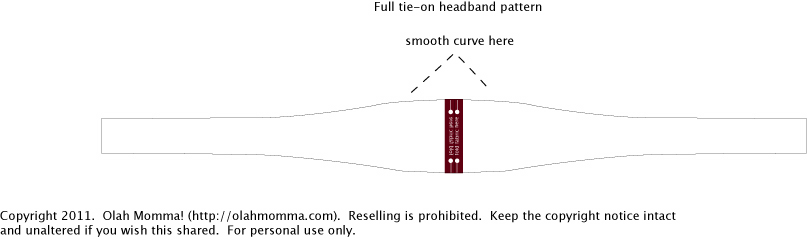
Now you may fold your pattern in half (crosswise), and you may cut it so you could have 2 patterns.
Tracing the pattern
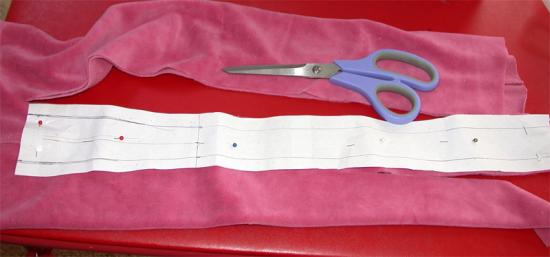
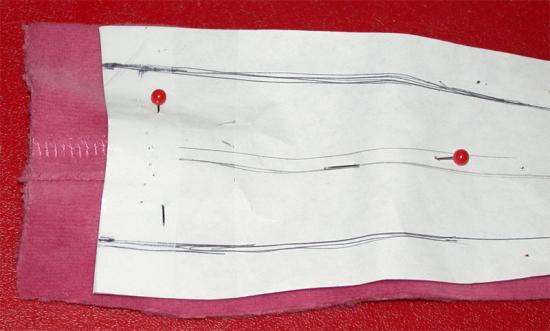
Fig 3. Lay your fabric (folded in half, each half 20 inches length) on a flat surface and pin over your pattern (following Figure 1, A side shall be laid on the folded part of the fabric). Cut.
If fabric is not enough for folding, you can connect each needed fabric by leaving 1 inch each connecting end (Figure 4).
Figure 4. A cut of fabric traced under the headband pattern, which will be connected to another piece of fabric to make the headband.
Sewing it together
Sew together the connected fabric (if you were not able to use straight, full length). Try it on your head, and point a position to where you would like to place your accessory.
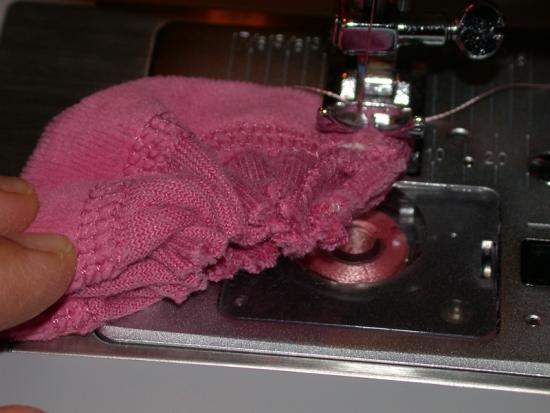
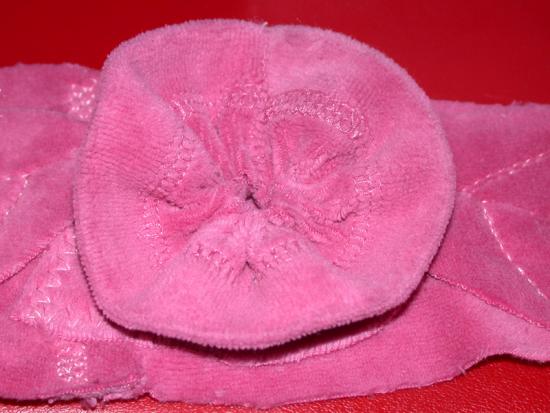
Make a leaf pattern and stitch it over the right side of your headband (Figure 5). Add some fabric florets if desired (Figure 6).
Figure 5. Cut leaf sewn to the headband fabric.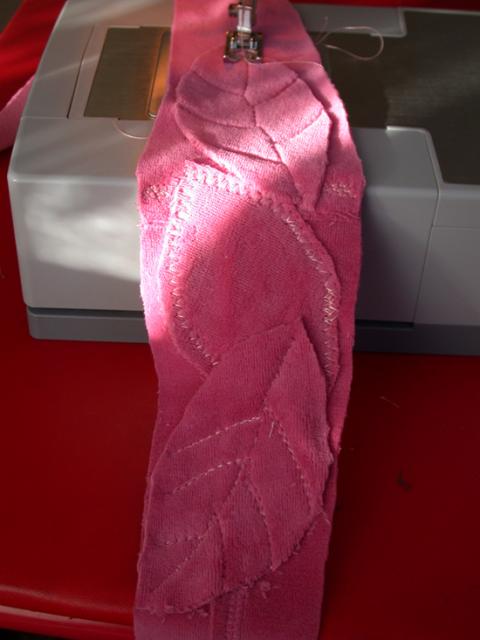
Figure 6. Handmade fabric flowers make a nice addition to headbands.

Making your fabric flowers
For now, I will show you how to make the easiest fabric flower.
Get an 8-inch x 2-inch piece of fabric. Fold the fabric in half (lengthwise). Make a straight stitch on one end, away from the folded end (Fig. 7)
Figure 7. Making a straight stitch for a fabric floral material.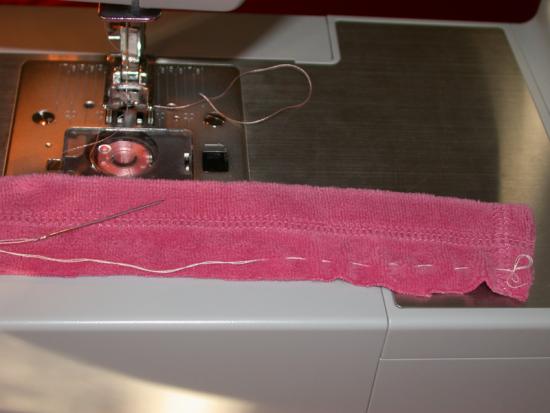
Once you reached the other end, pull your thread gently until it stops, thereby creating a ruffled effect of your fabric (Fig 8).
Figure 8. Ruffled fabric after pulling the thread together.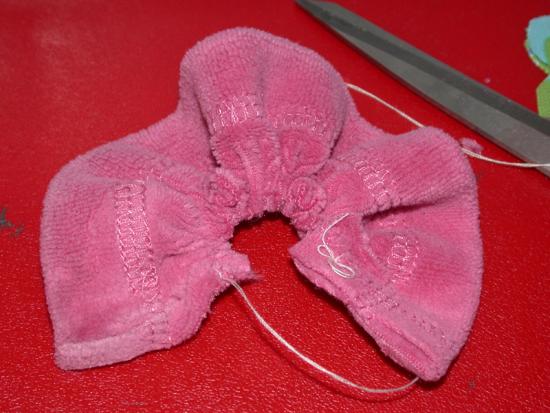
Sew together the ends of your ruffled fabric to form into a circle (Figure 9).
Figure 9. Sewing together the ends of the ruffled fabric by folding it, with wrong sides facing you.
Doesn’t it look like a flower now?
Now sew this flower on top of the fabric leaves, or wherever you wish it to be.
Add more as you wish!
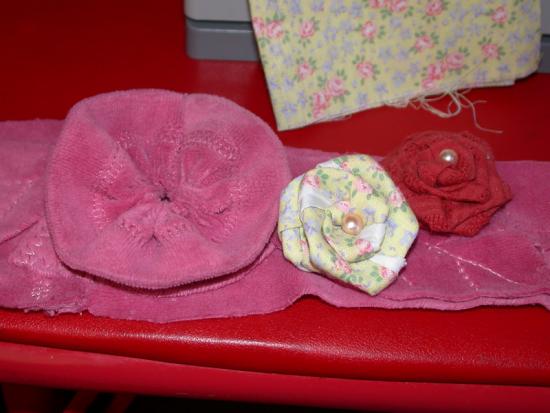
I added rose fabric flowers on my creation. Sorry I ran out of time providing fabric rose flowers, but I will make some soon.
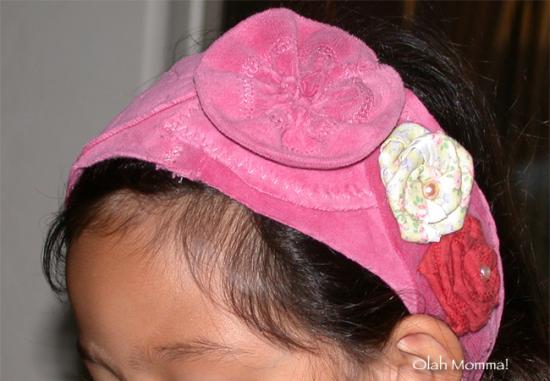
See? It wasn’t so hard at all. Enjoy your new creation!
Carfting Category:


I love hopping, and thank you to the hosts. Please click below the collection of blog hops that I have joined and that you too can join:
Sunday | Monday |Tuesday | Wednesday | Thursday | Friday | Saturday | Seasonal | Any Day
Sunday | Monday |Tuesday | Wednesday | Thursday | Friday | Saturday | Seasonal | Any Day

Thank you for stopping by at The Quiet Mom Kitchen Diary. Bon appétit!
I thirst for helpful and inspiring comments. Kindly drop some below. Thanks much!
Don't want to use the facebook comment box? No worries. Pretty please use the form below...