This project is also great if you have fabric scraps calling your name with the fear of going to the landfill, trying not to give Mother earth more hardship.
These are what you need:
Patterns (download here)
1 pc. 15” x 15” flannel fabric
1 pc. 15” x 17” flannel fabric
Other fabrics/scraps for your appliqué
Lace (44” x 1 to 2”)
Thread
Sewing machine & fine sewing machine needle
Buttons
Handmade flower (click here for instruction)
12” Velcro @ 0.25” width
How to:
1. Cut the patterns
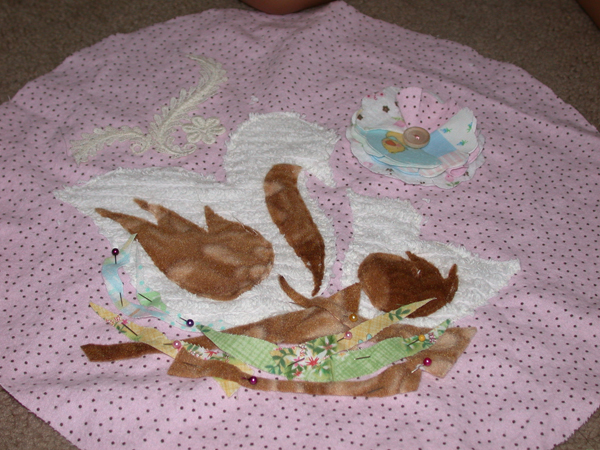
2. Sewing the bird appliqué on the front circle:
a. Sew the bird’s body first to the front circle
b. Sew on the wing over its body.
c. Put button on it’s eye area
d. Sew on thin fabric cuts/scraps below the birds as their nest.
e. Sew on handmade fabric flower by sewing down its bottom layer to the main fabric/front circle.
f. Sew on more accessory/applique as desired (like the lace I added on this design).
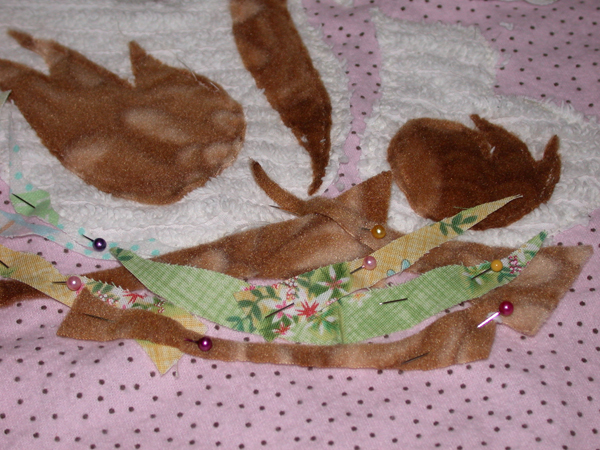
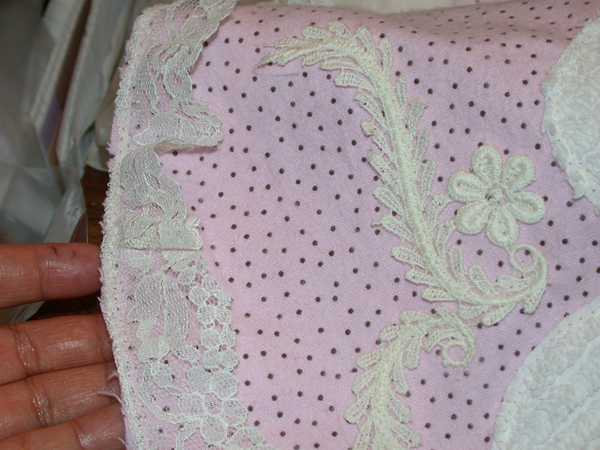
3. Pin and sew on the lace on the edges of the front circle, making sure they are level, with the right edge of the lace inwards.
4. Preparing the Back Pattern/Half-Moon
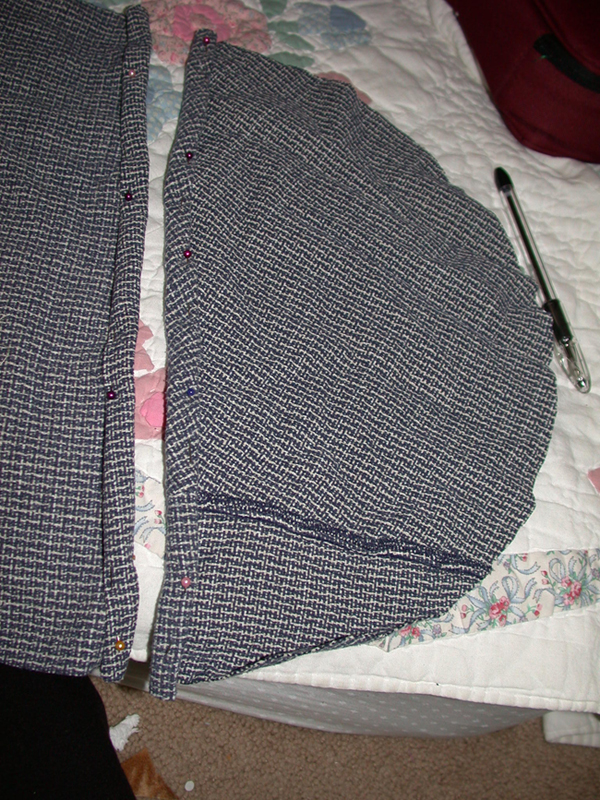
a. Cut 2 half-moons
b. Using the dashed line of the pattern as your guide, fold the fabric twice inwards the wrong side of the fabric (about 1/4” per fold). Sew on. Do the same to the other half-moon.
5. Attaching the Velcro.
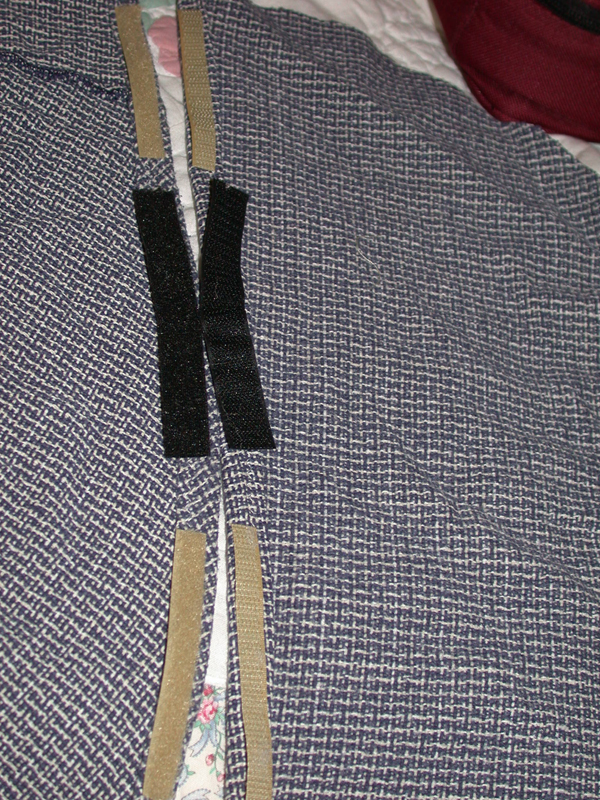
Use 3 cuts of 4-inch length velcro with a quarter-inch width (or if you have an inch-width one, cut it in half lengtwise). Attach the Velcro on the prepared half-moon as follows:
a. Sew on the smooth part of the Velcro on the wrong side of a half moon over its folded, sewn edge.
b. Sew rough part of the Velcro on the other half-moon on the right side of the fabric on top of its folded, sewn edge. Make sure that the rough Velcro is level with the smooth Velcro sewn on the other half-moon.
6. Putting it together:
a. Close your half-moon using the Velcro sewn in it. You must now have a circle that matches your front circle.
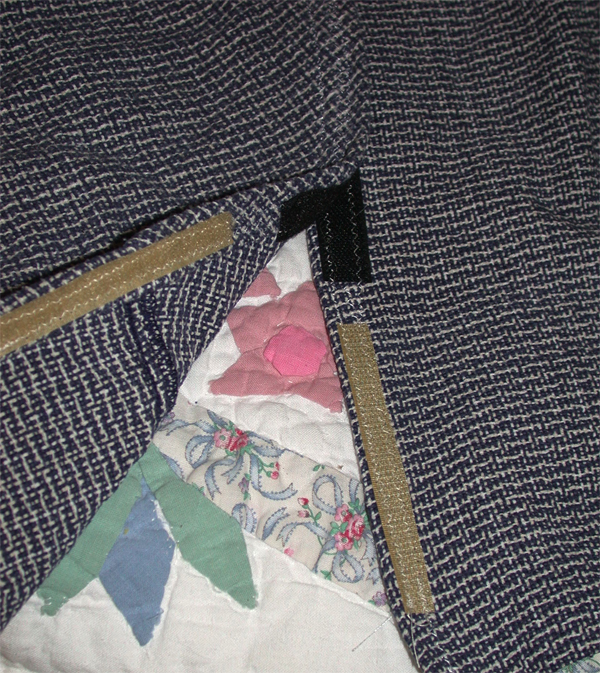
b. Lay your backing (back fabric with Velcro) right side facing you. Place over it the prepared Front Circle with wrong side facing you. Make sure they are level. Pin and sew together.
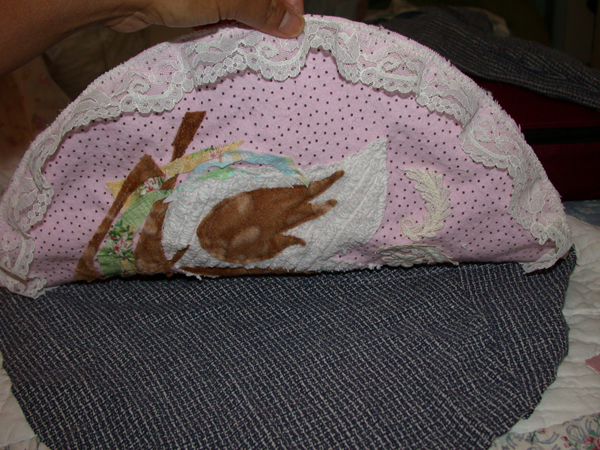
7. Invert your finished throw pillow case. You must now have that beautiful round pillowcase.
8. Making the filler.
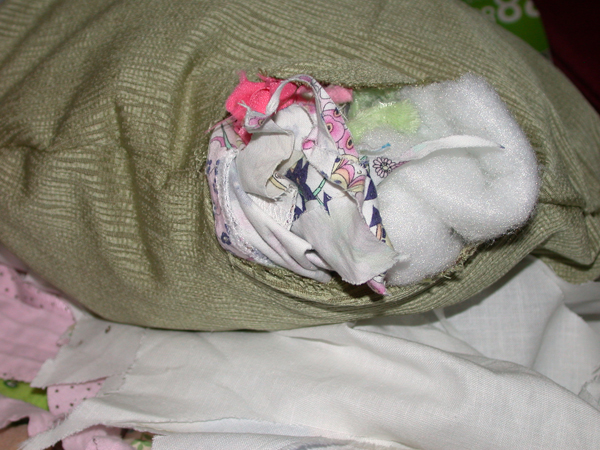
a. Cut 2 circular patterns using the Front Circle pattern used for the pillowcase.
b. With the right side of the fabrics facing each other, sew their edges together, leaving about 6” to put your fillings in.
c. Turn inside out and begin putting your fillings. I used tiny fabric scraps mixed it with fiberfill material, so it will still at least be fluffy. You can use the ratio of 1:1 to have that fluffier feel, of most fluffy if you will use fiber fill. I used ratio of 30% fiberfill and 70% of my fabric scraps. One advantage of using 100% fiberfill is that when you wash this, it will dry up quickly. My intention of using fabric scraps is to recycle.
d. To close: Fold the openings (about 1/4”) inwards and sew together to close.
e. Put inside the pillowcase and close using Velcro.
You made it!
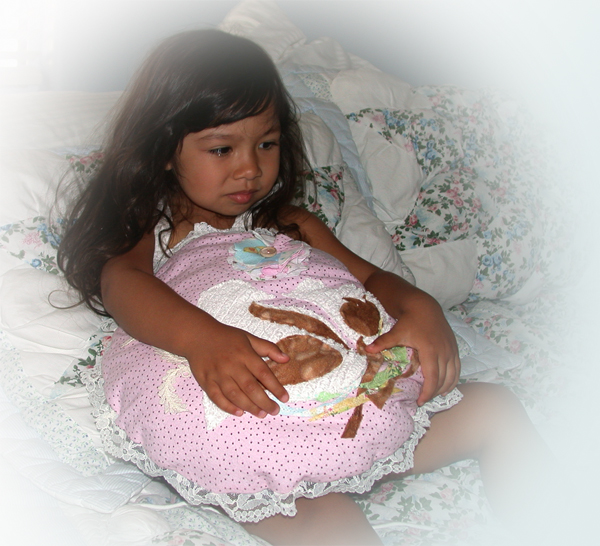
Ooops, sorry ma, here is your granddaughter who loves cuddling with it:)


Don't want to use the facebook comment box? No worries. Pretty please use the form below...